TL;DR
Name: The Hub
[RECOMMENDED] Live demo (low quality but runs better): https://jtpio.github.io/js1k-2015
Demo entry (requires a good graphics card) : http://js1k.com/2015-hypetrain/details/2179
Source code: github.com/jtpio/js1k-2015
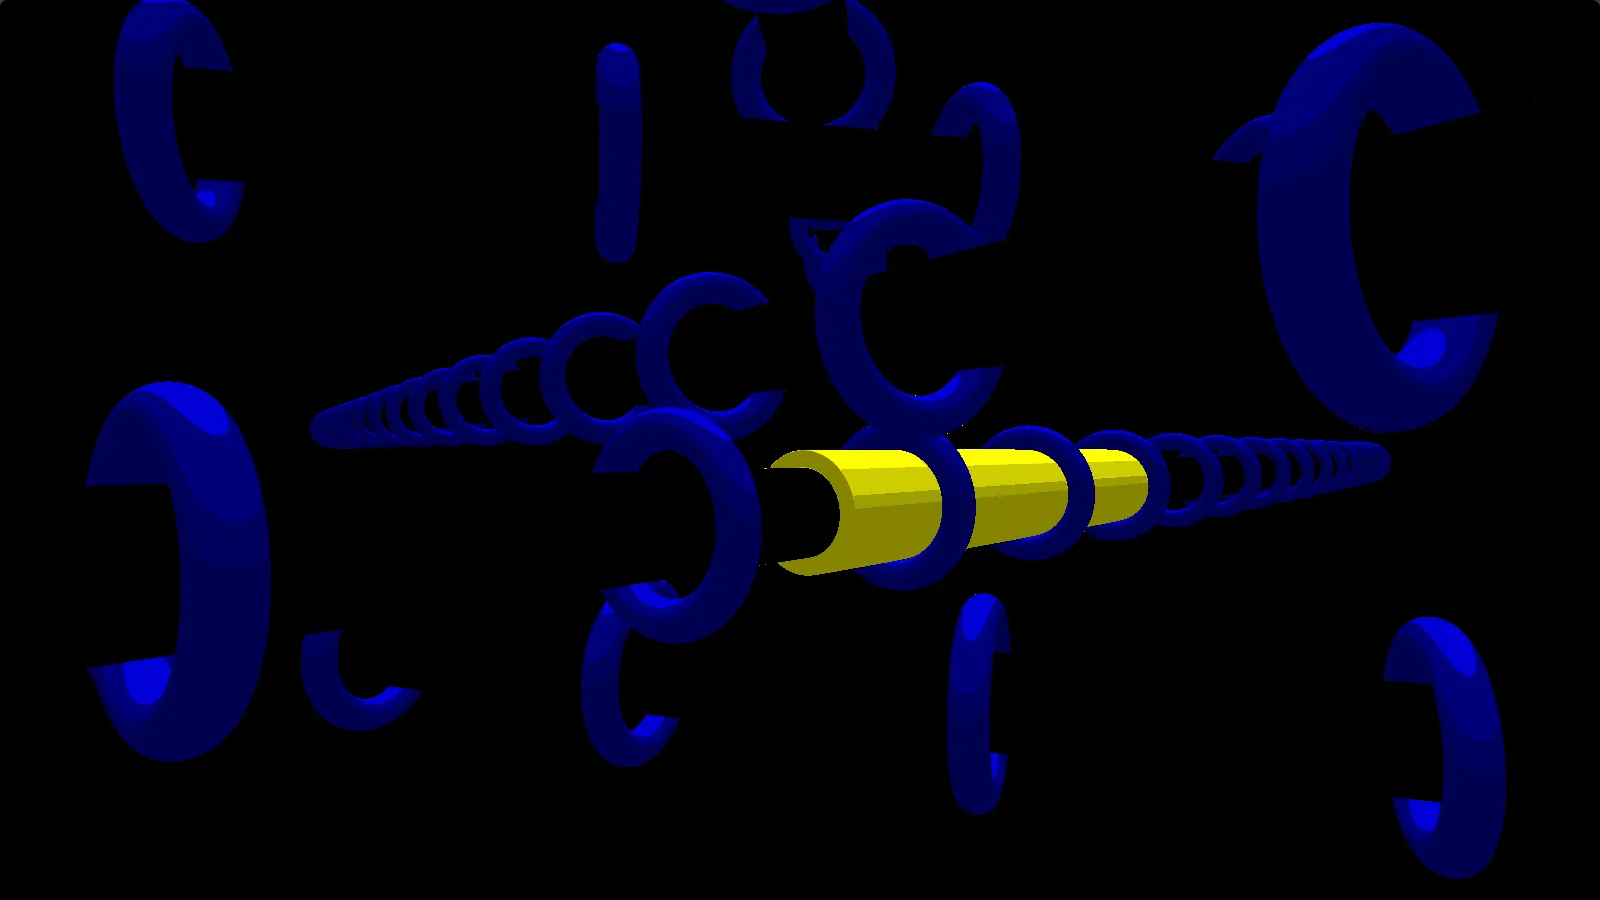
If you want to know more about the making of this demo, keep reading.
Table of Contents
Joining the competition
This year I decided to enter the JS1K online competition (make something less than 1024 bytes of pure JS).
I had joined the party two years ago and did something in 2D https://js1k.com/1344.
The new rules for this year allowed the use of WebGL, which was good because I had a list of new stuff I wanted to learn:
- Do something in 3D
- In WebGL
- Learn more about shader programming
- Implement a raymarching algorithm
- Implement a cartoony effect (toon shading)
The theme was Hype Train. After a few days of wandering and research for inspiration, I decided to go for a demo that will consist of a raymarched scene of trains, continuously moving, rendered with a toon shading effect.
Inspiration
I wanted to do something with futuristic trains, or at least related to futuristic transportation, but not necessarily realistic.
In the beginning I wanted to have a transparent tube with trains / objects moving inside the tube, like the Futurama transport tubes or the first picture below. But I dropped the idea quickly because of the potential complexity of doing transparency.
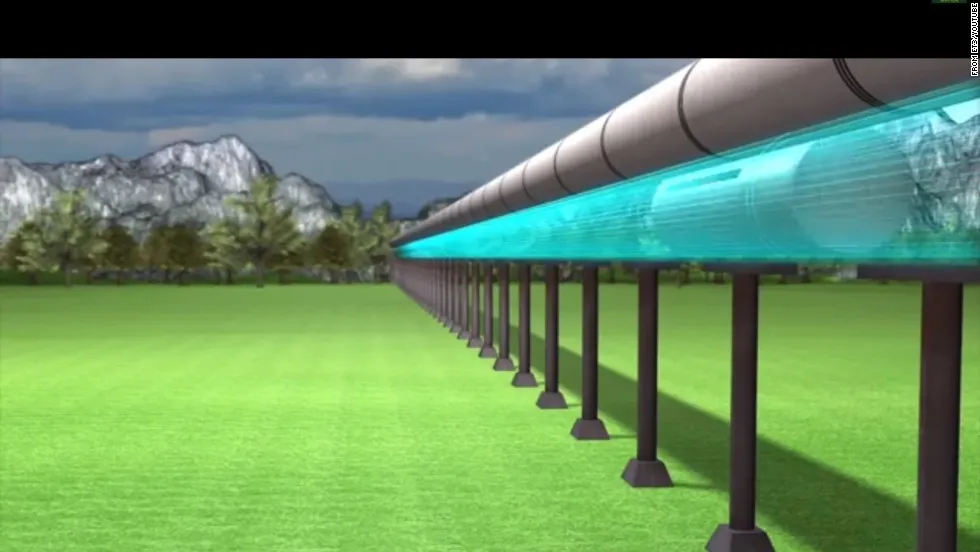
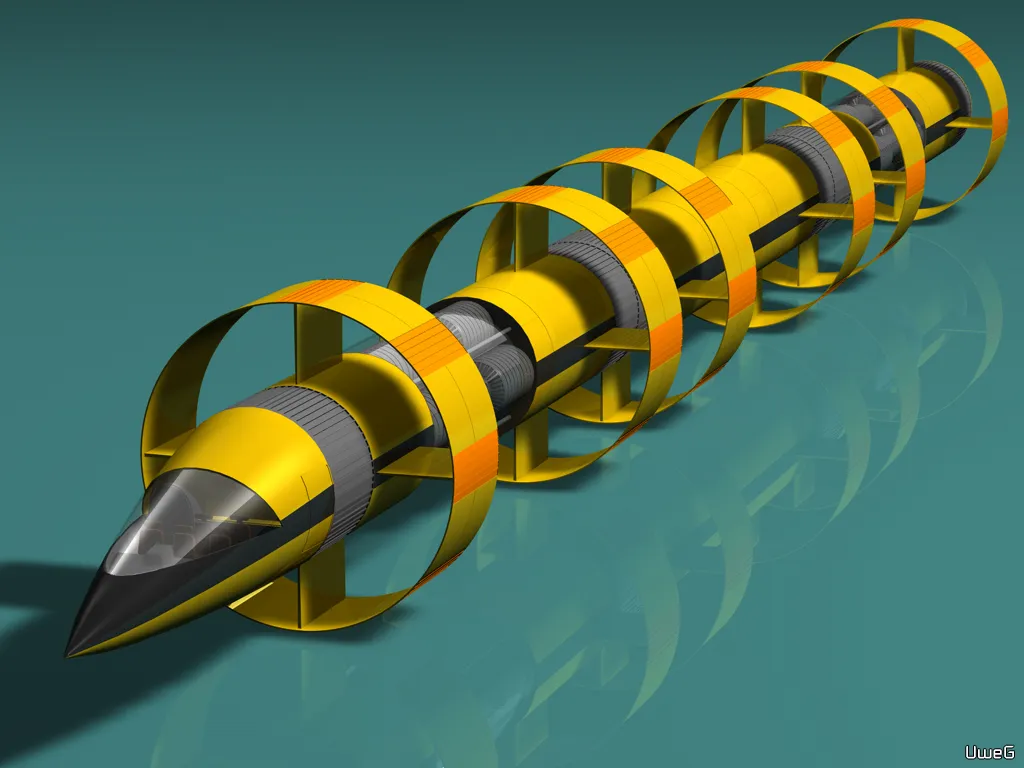
Source: http://fc04.deviantart.net/fs50/f/2009/315/2/2/Vinean_Maglev_Train_by_UweG.jpg
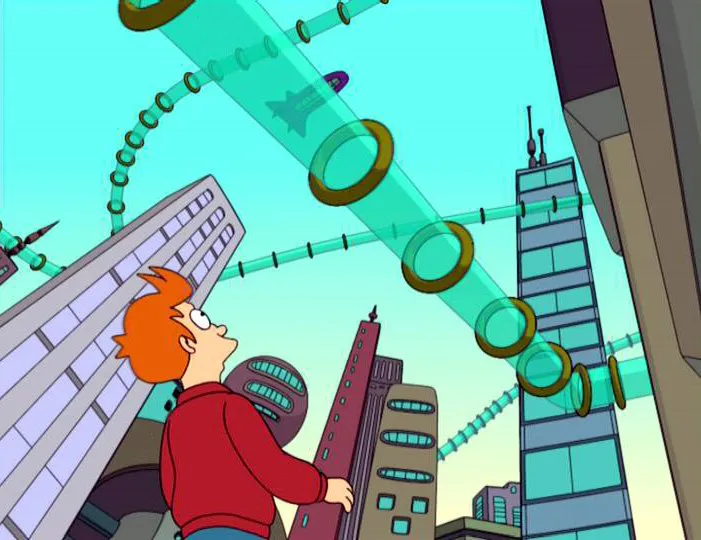
Source: http://photos1.blogger.com/blogger/1648/2486/1600/Tube.jpg
Workflow
I made the demo in basically two weeks, working mostly during the evenings. The time constraints were pretty tough because at the time the contest was supposed to only last one month, and I would also be away (and away from keyboard) the last week of February. It was essential to have good tools and a good flow.
I got things started with this very useful JS1K boilerplate: https://gist.github.com/gre/9364718.
To be sure that my demo will work in the final skim, I extended this boilerplate to automate it even more, and include the shader minification step.
- The shader is mainly developed on shadertoy, to have a quick feedback and to prototype fast
- I copy/paste the code from shadertoy to a local file
- The shader source code is processed by a replacement tool to rename the global variables used on shadertoy (iGlobalTime to T, iResolution to R). Then it is minified with shader minifer
- The minified shader source is copied to the main Javascript code and stored as a variable (string)
- UglifyJS minifies the code
- jscrush crushes the code
- The crushed code is inserted in a script tag in the shim.html file which produces an index.html file.
- Open the index.html in a web browser
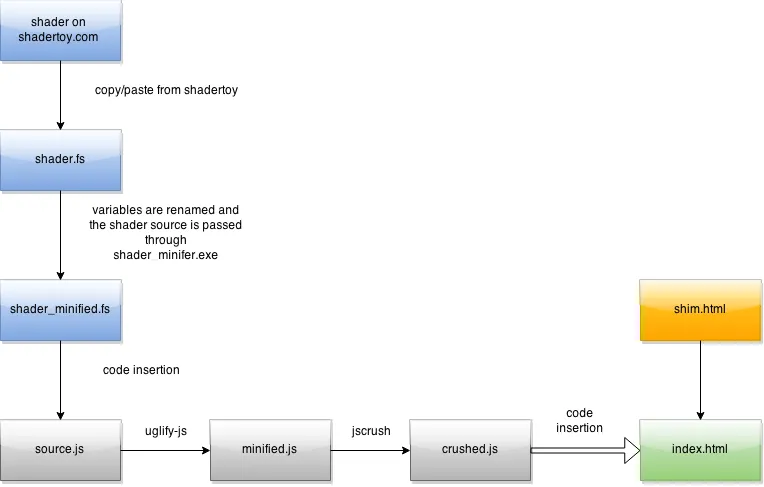
I forked the gist mentioned above and extended it to fit my requirements: https://gist.github.com/jtpio/547db4510c0bec05bed5). It is probably possible to improve it, so feel free to do so!
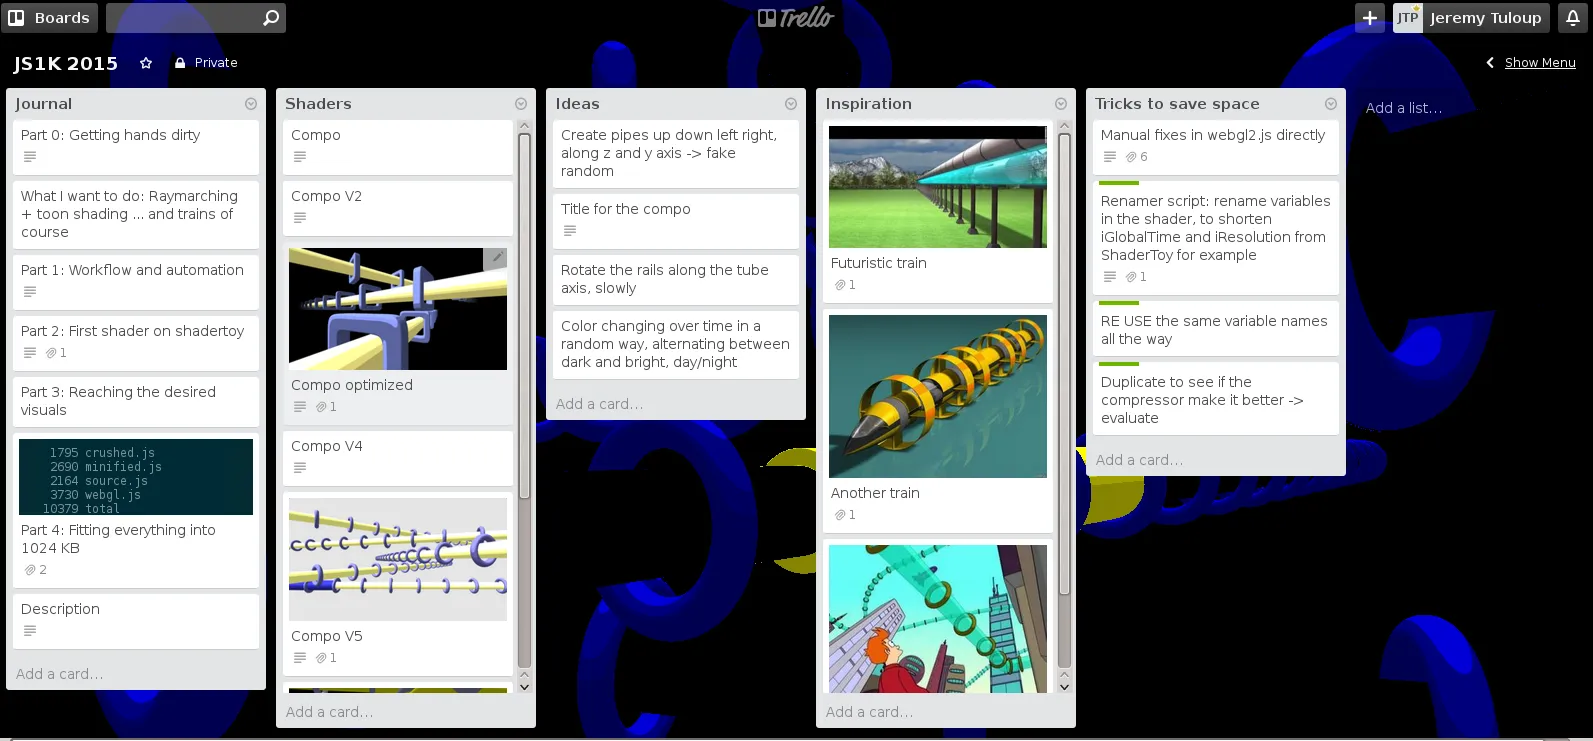
I also used a board on Trello to organize ideas and progress.
Timelapse
Because it’s always fun to visualize, here is a quick timelapse to show how things changed over time.
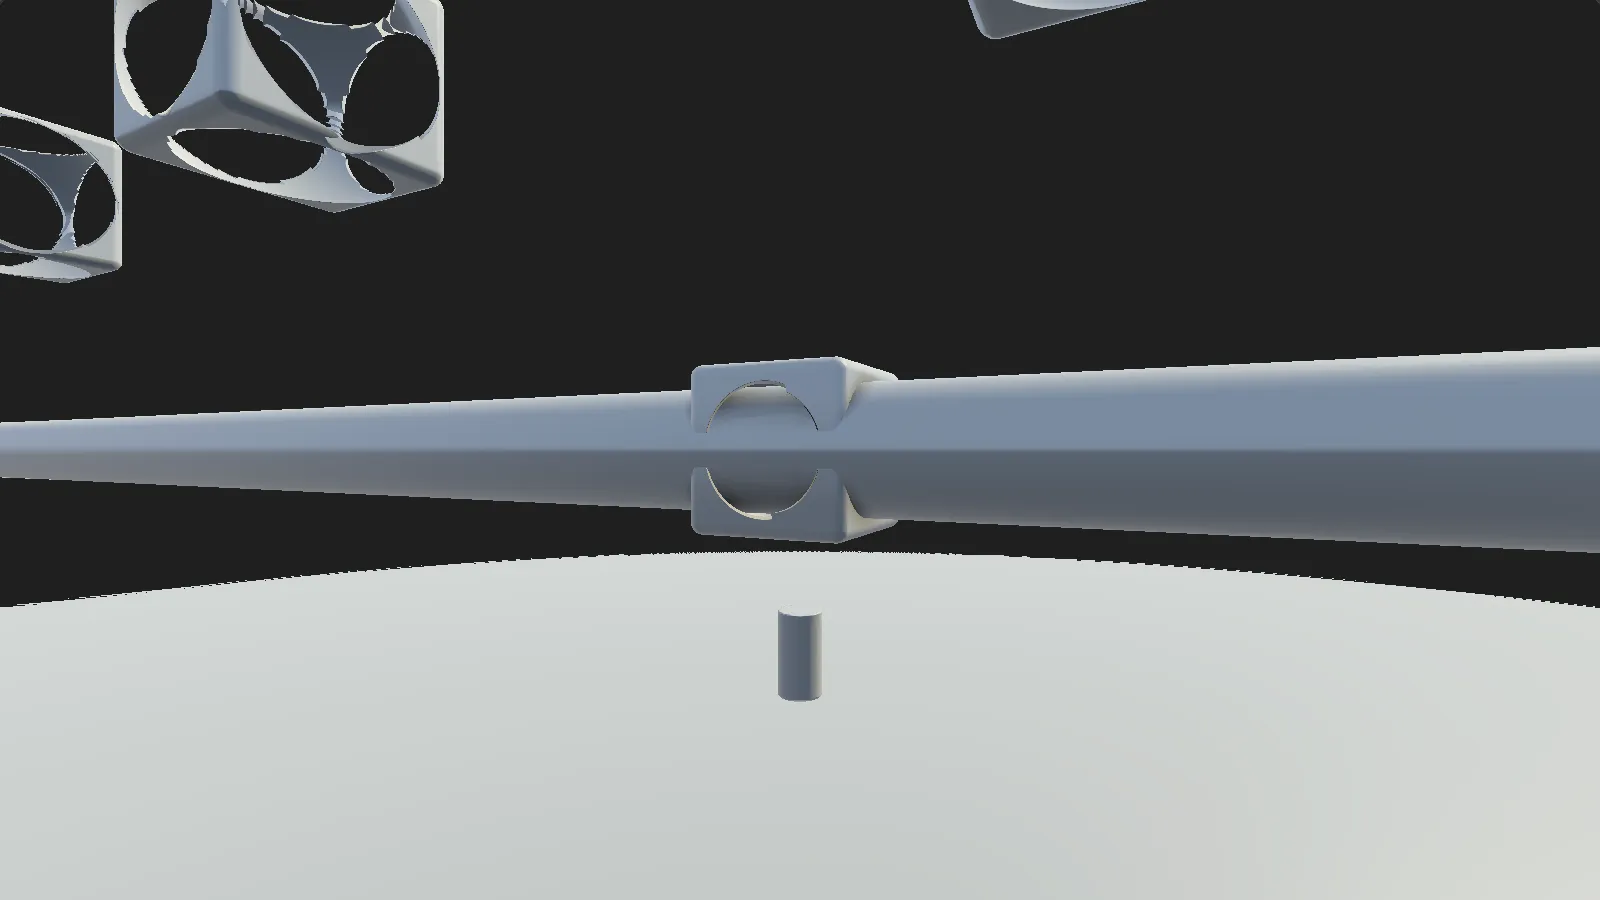
Render basic stuff to be more familiar with raymarching
Then some colors and lighting inspired by iq primitives shader
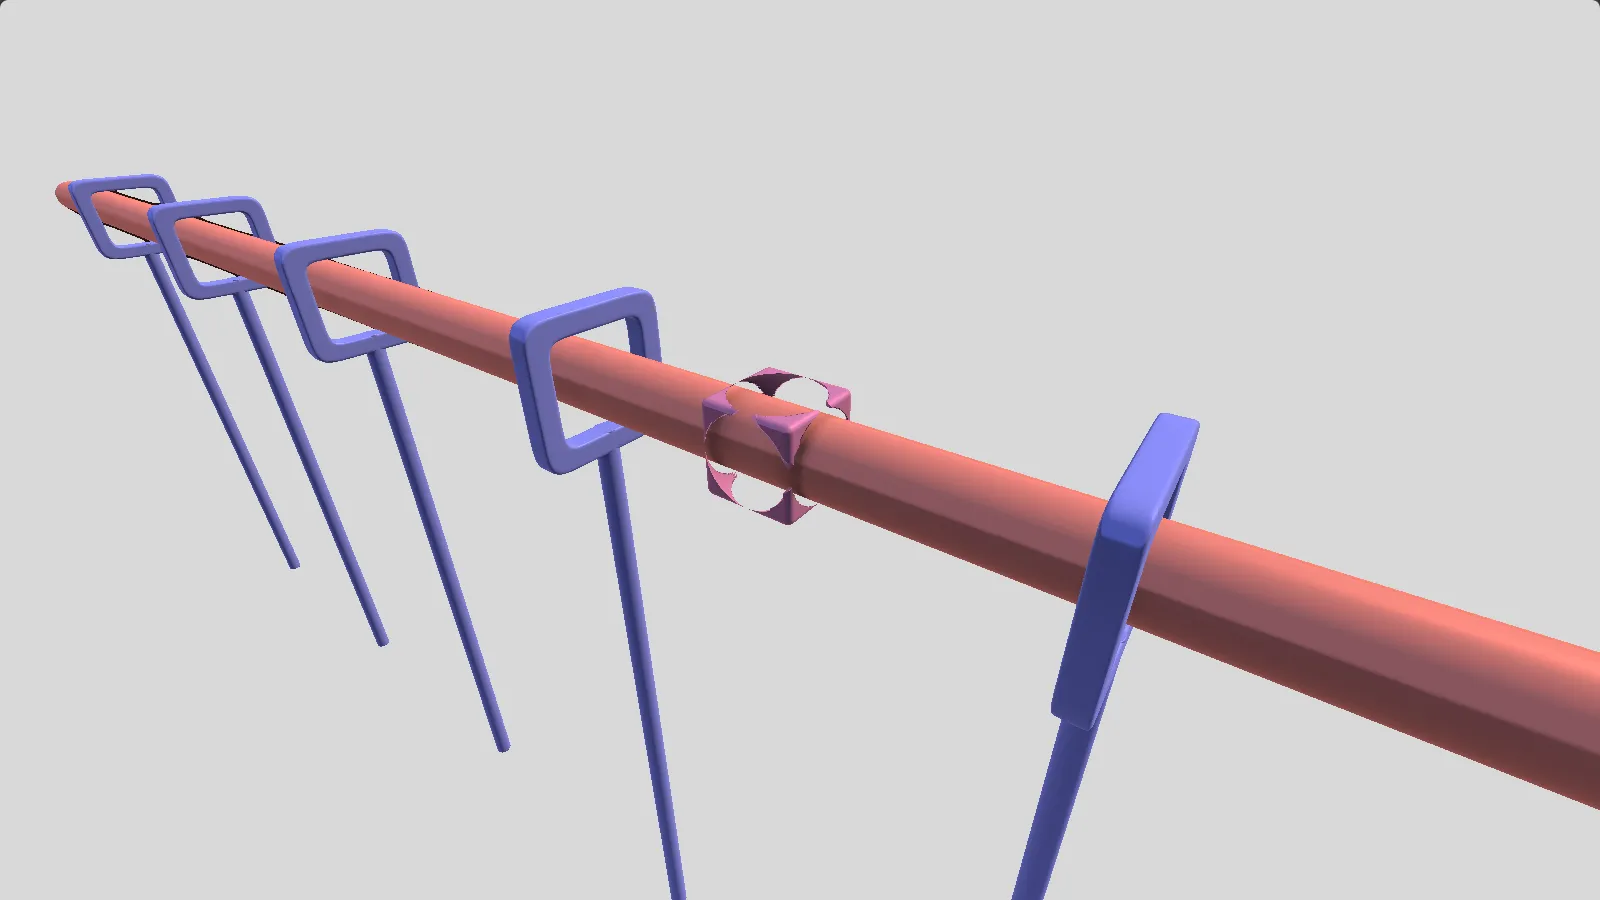
Toon shading is implemented
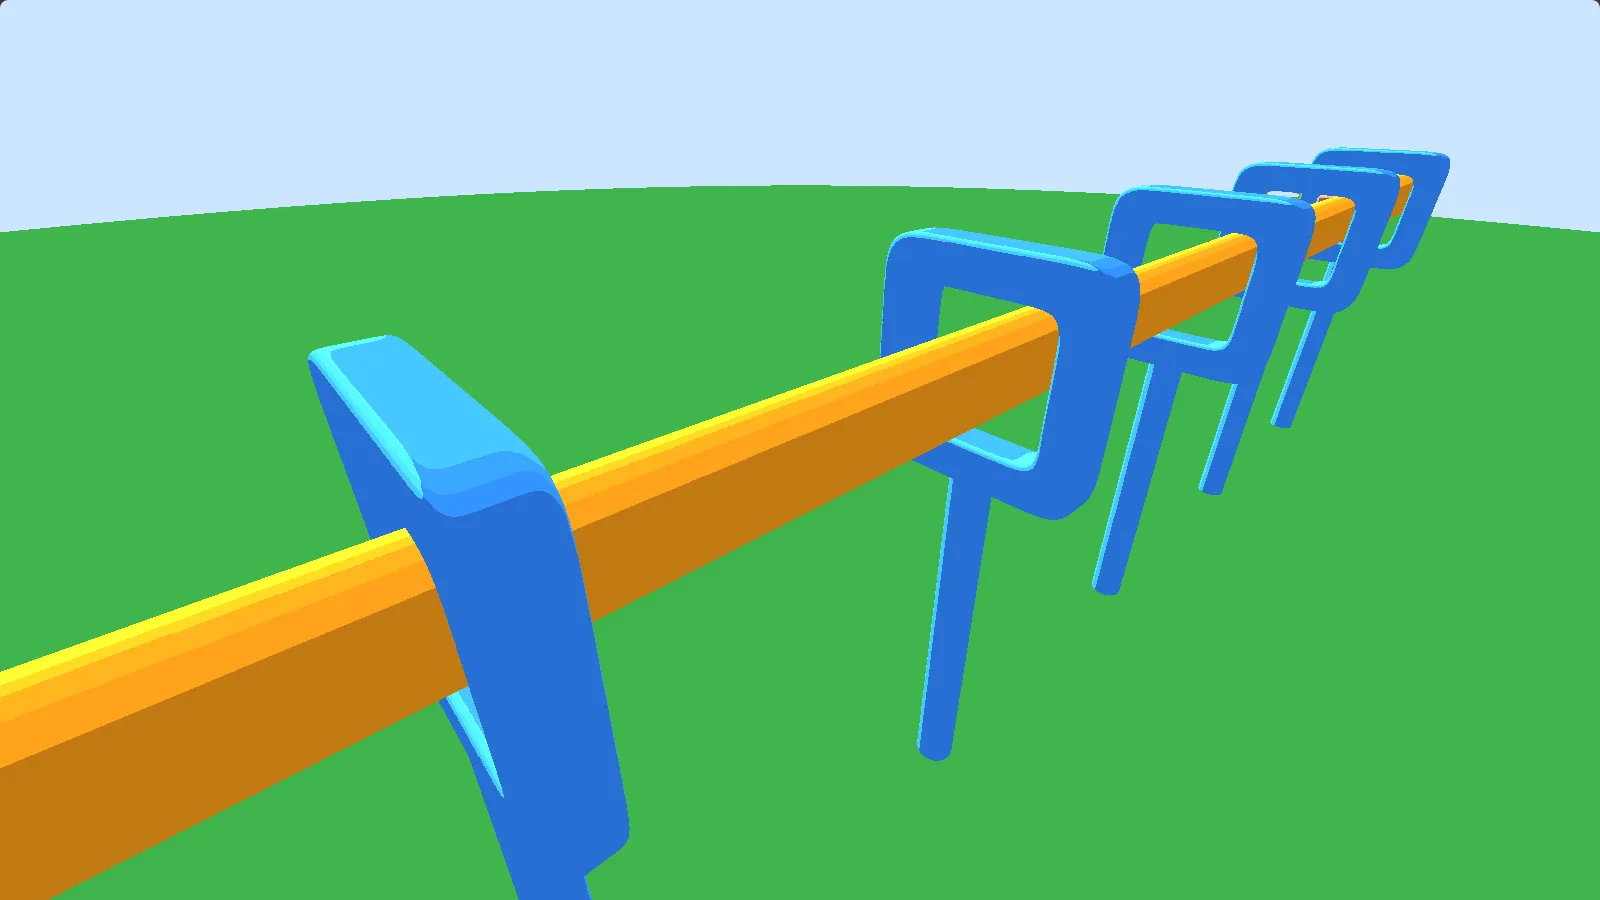
Does it look better with a ground? Hmm no.
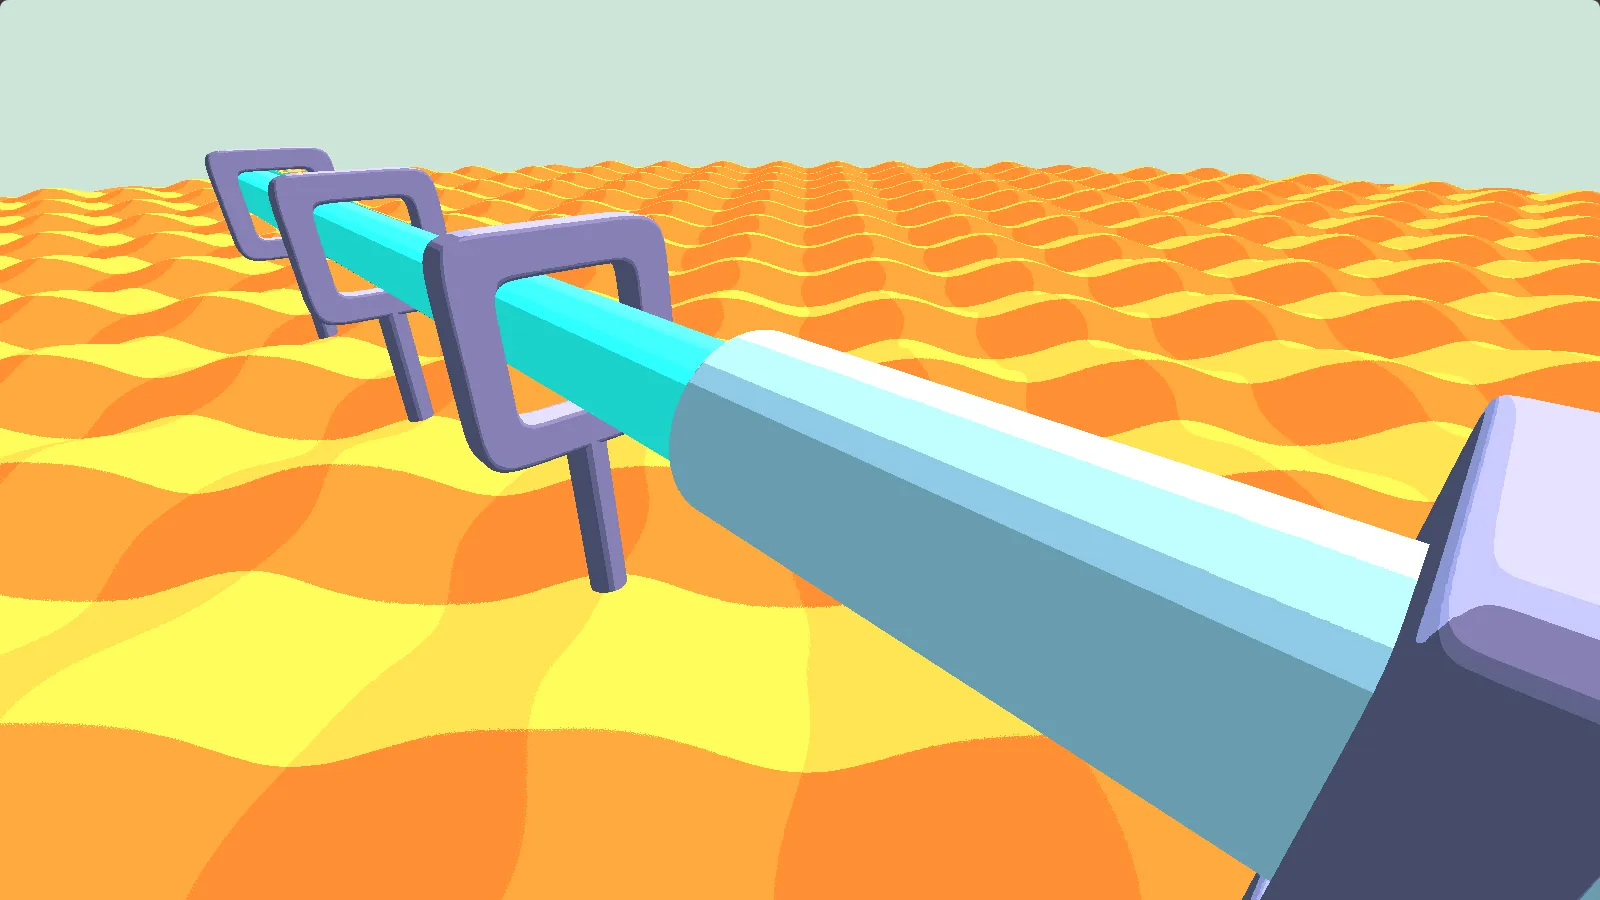
Different tracks and colors
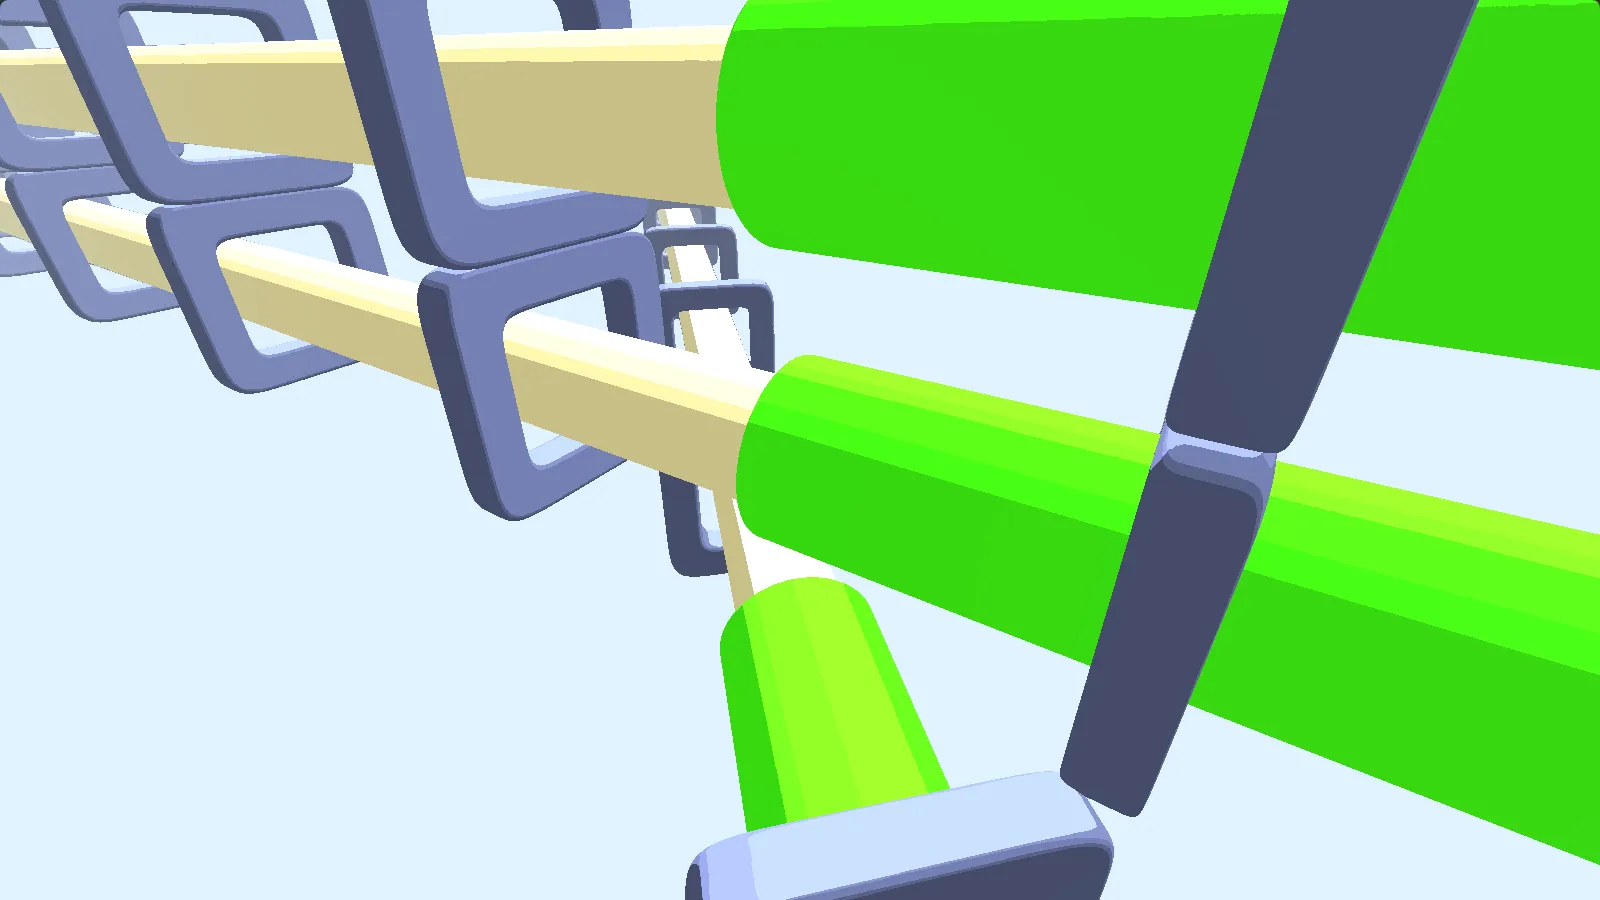
Vertical trains, dark theme
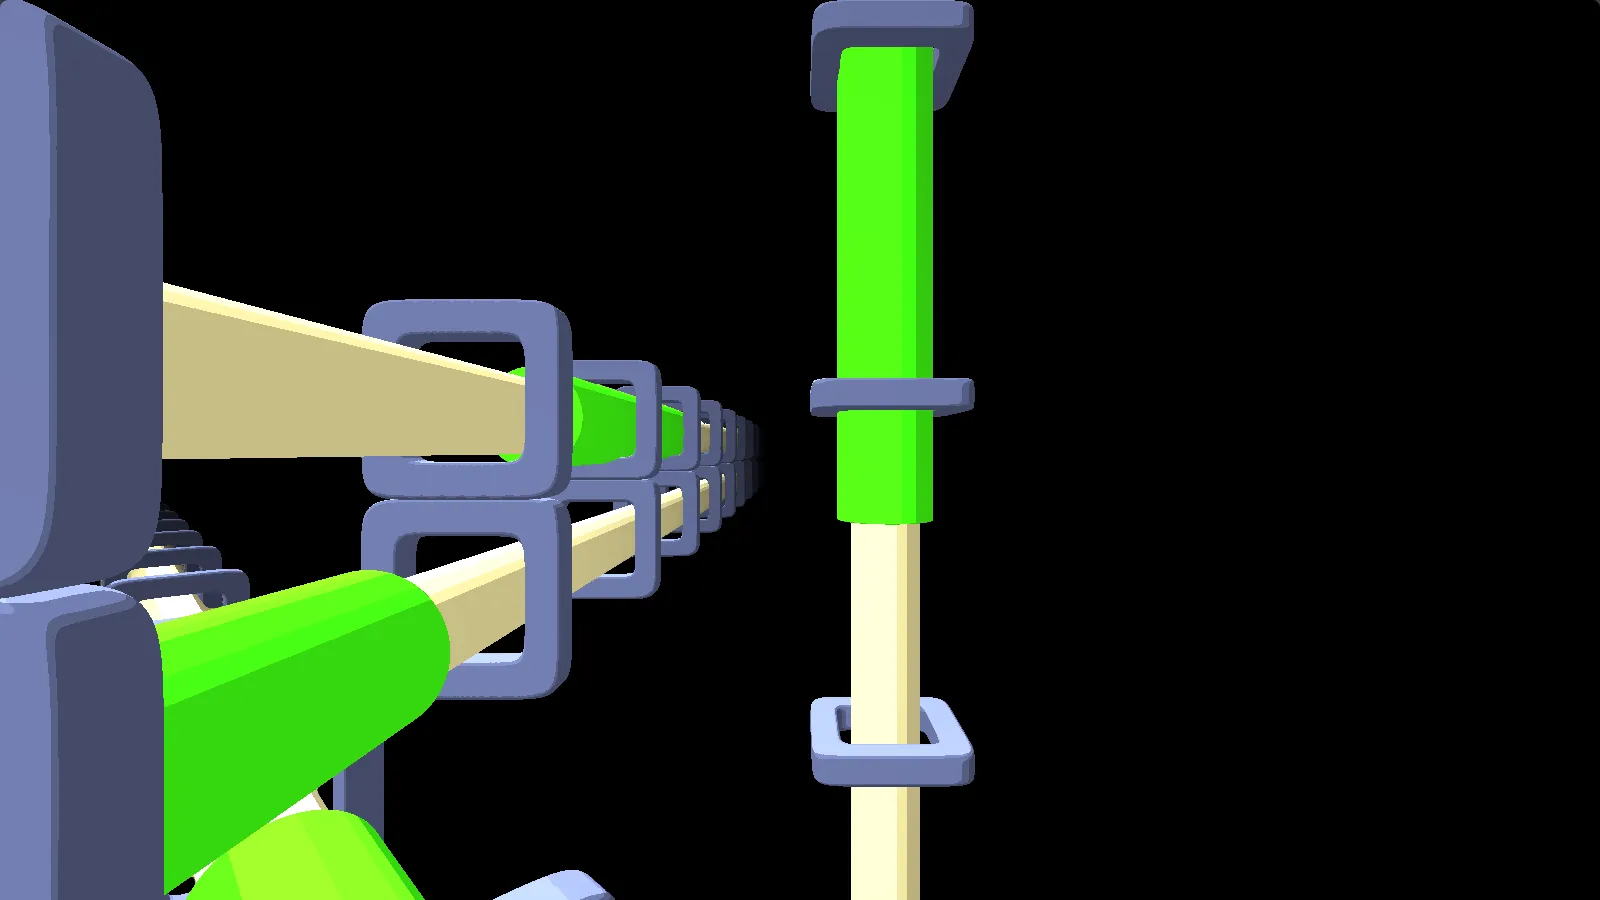
Camera tweaks 1
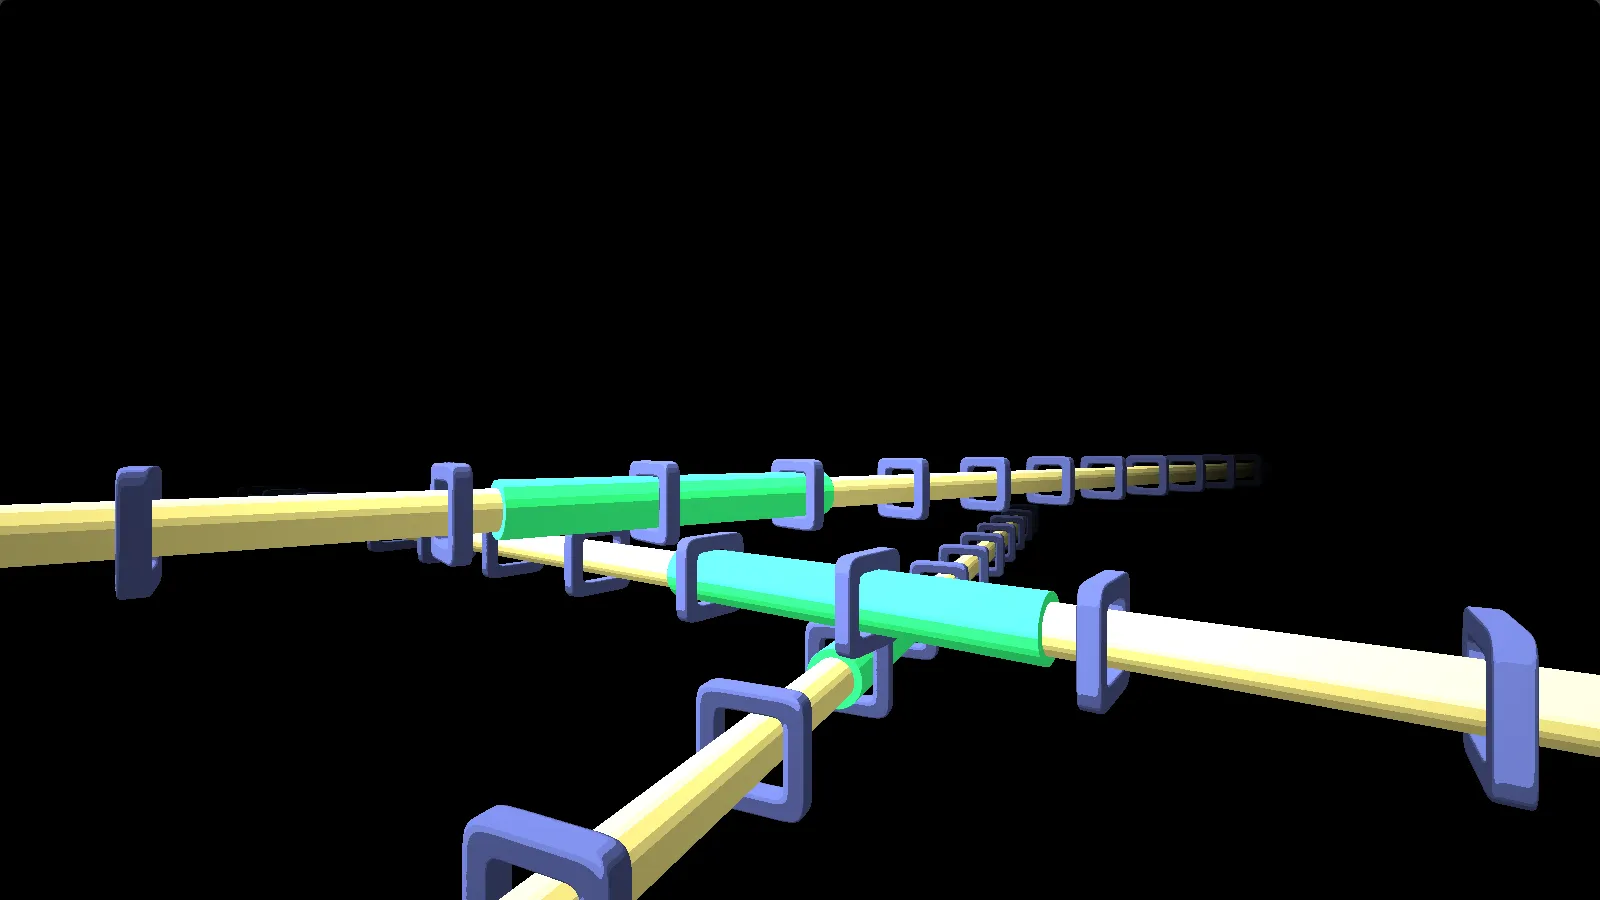
Camera tweaks 2
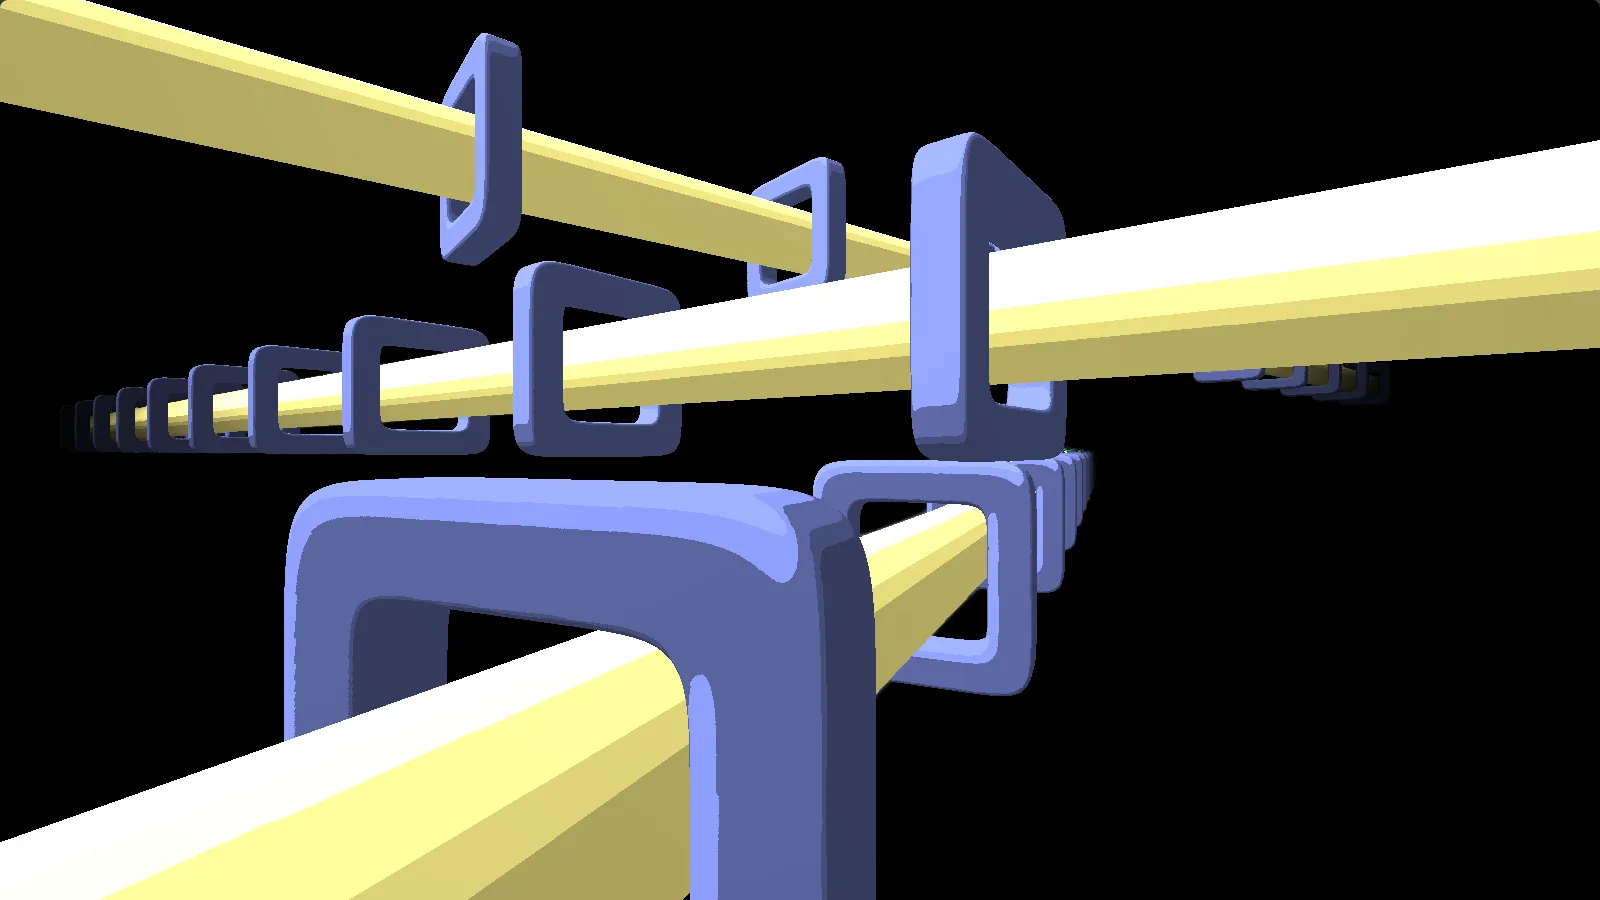
Positioning of the tracks
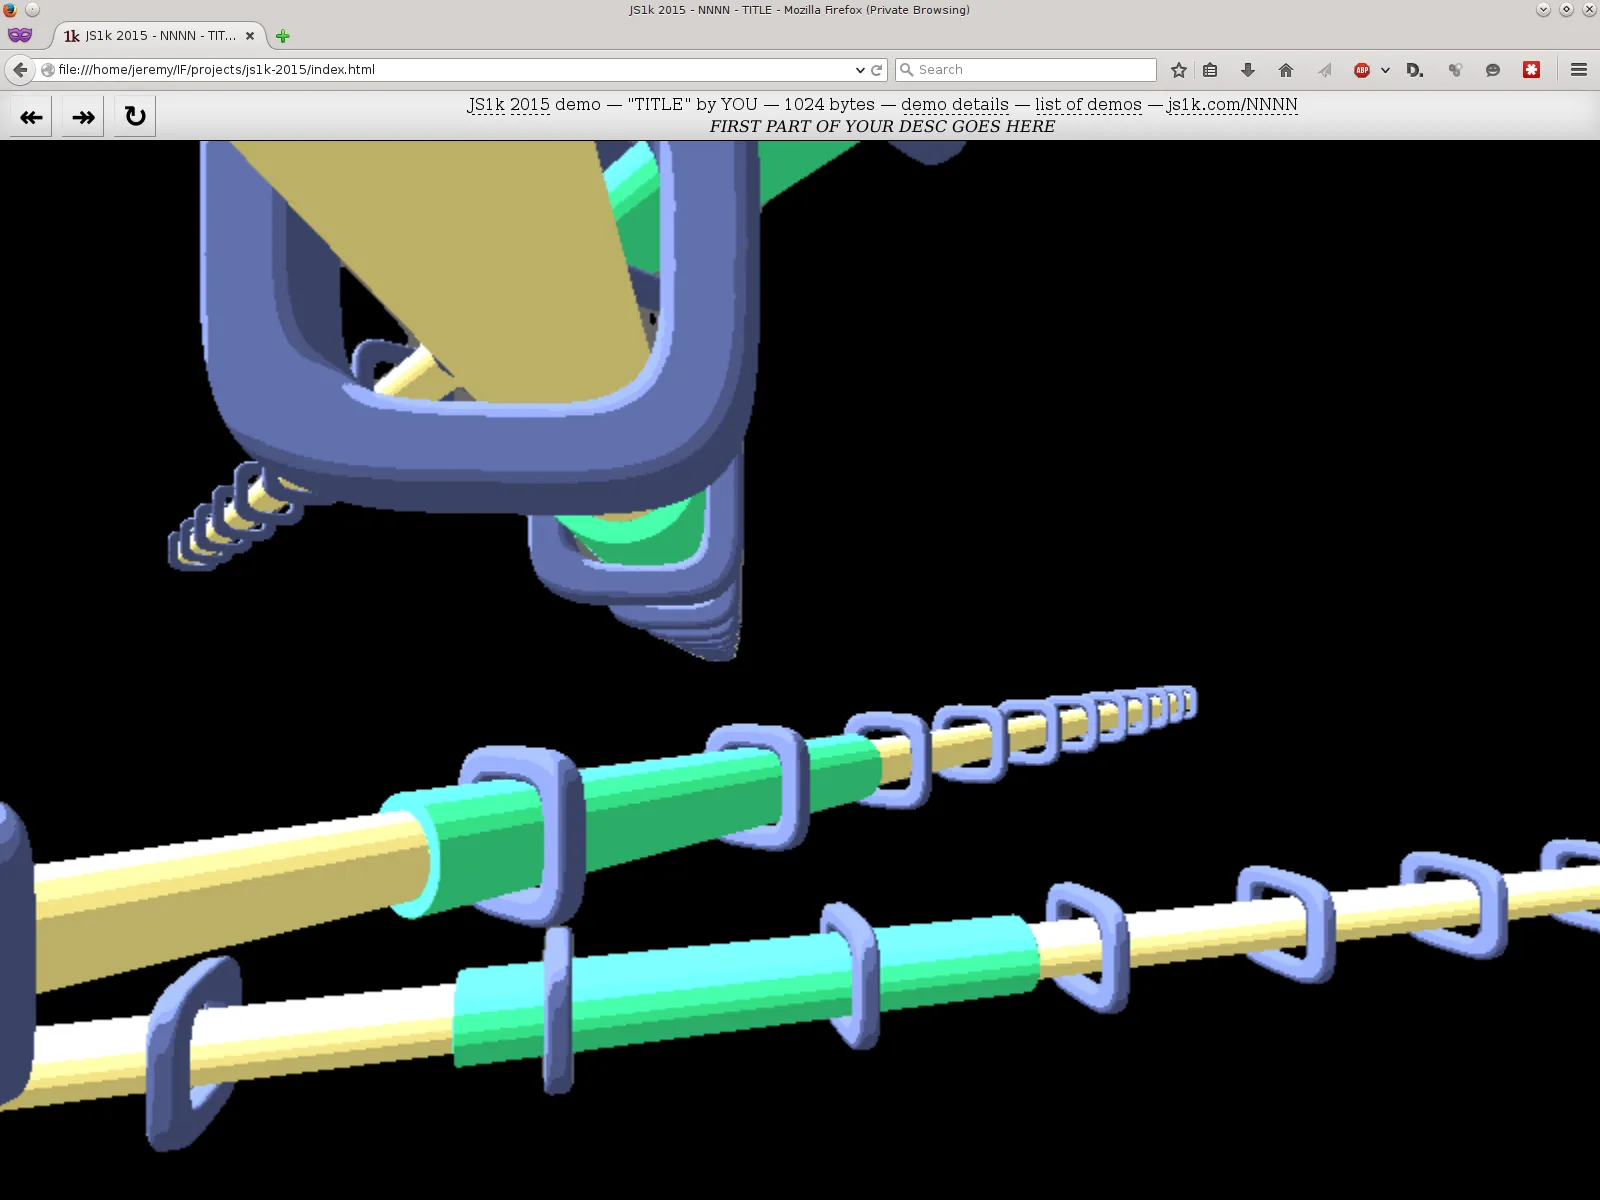
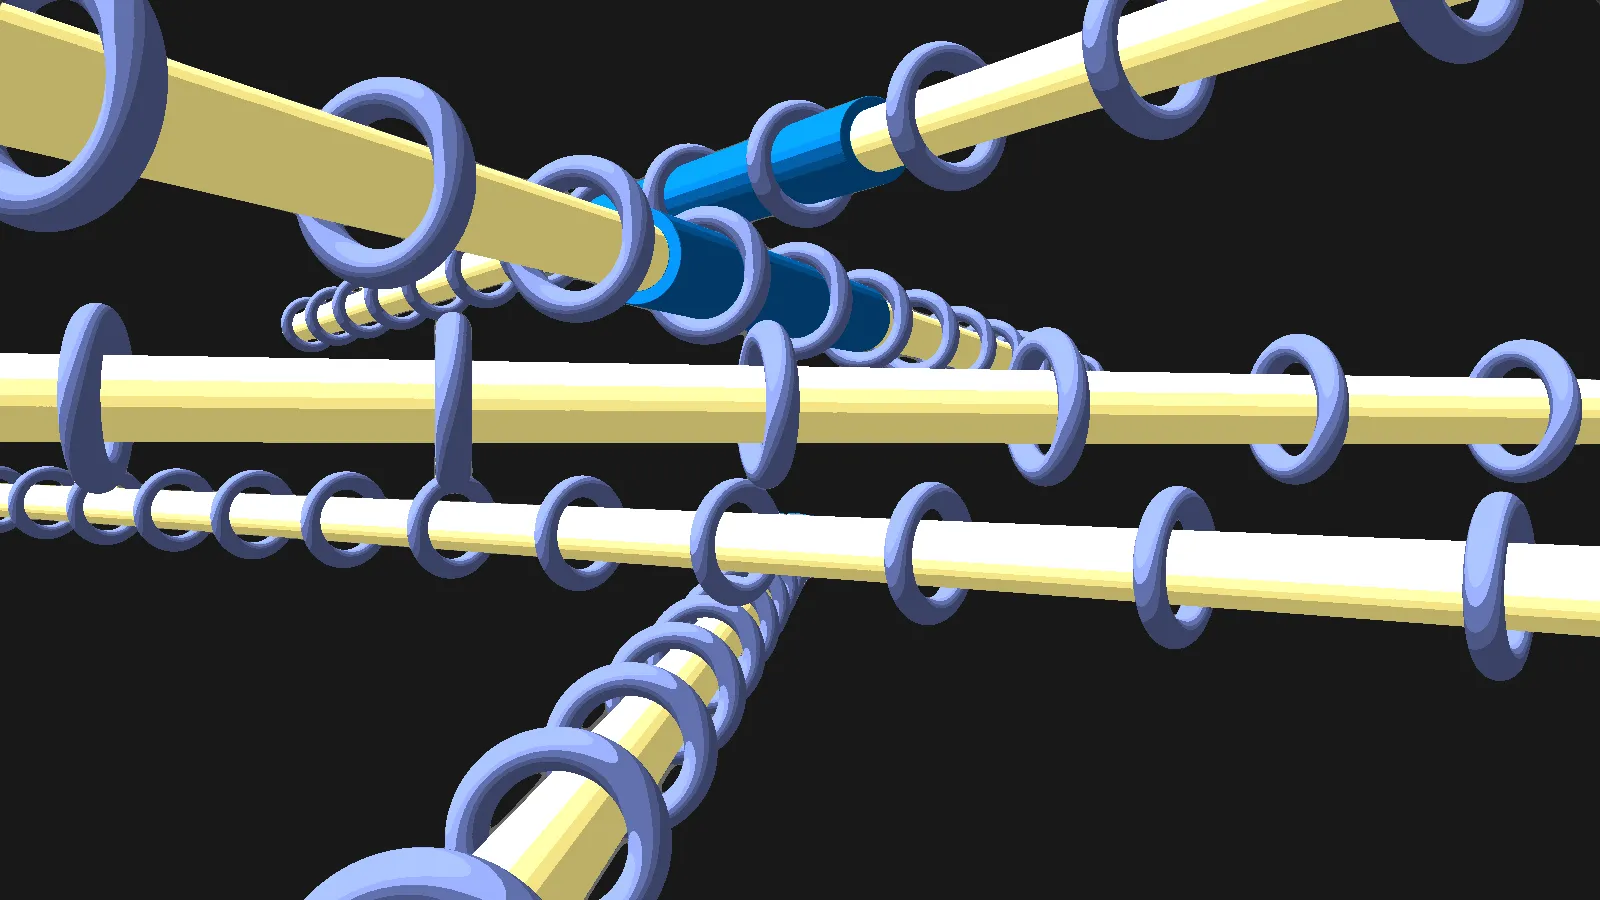
Started the manual size optimization
You can notice that I dropped the “squared” shapes for something more round, in the form of a cylinder. The function used to generate this is indeed way shorter in the latter case.
Light work
The source light is positioned higher. But as you can see there is no ambient occlusion :(
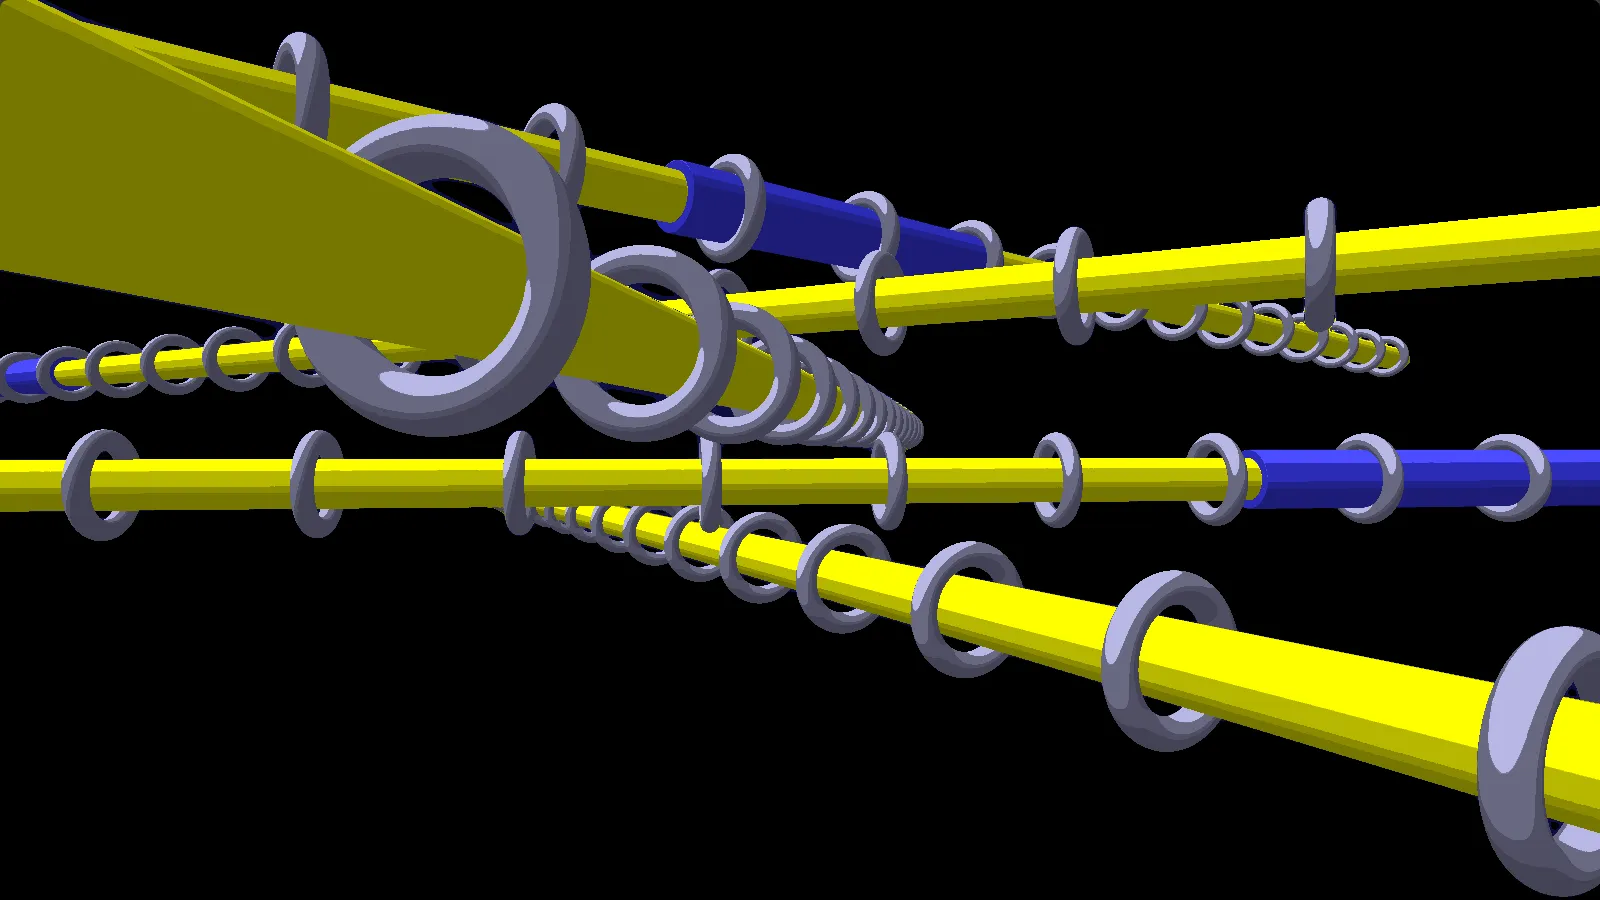
Colors changing over time
This was actually a very cheap improvement in terms of code size (just of few bytes).

Implementation
The demo consists of one shader (vertex + fragment) displayed full screen. The fragment and vertex shaders are loaded with a tiny piece of WebGL code, mainly inspired by the awesome work of ½-bit Cheese on HBC-00012: Kornell Box.
Here is the WebGL code without the shaders. I managed to save a few bytes by re-using variable names used in the shader code (for example x) in the following WebGL code, so it compresses better. What I mean is that if you take the variable x below in the for loop, you can technically replace it by any other variable name. Since x was used a lot in the fragment shader code, I decided to use it again, but it could also be a, z, l …
Constants like g.FRAGMENT_SHADER or g.ARRAY_BUFFER are replaced by their numerical values. The for loop produces 2 iterations, one to setup the vertex shader and another one to setup the fragment shader, and the variable y decides which shader to load.
// shorten the functions
for(x in g)
  g[x.match(/^..|[A-V]/g).join("")]=g[x];

with(g){
    for(x=crP(y=v=2);y;coS(n),atS(x,n))
        shS(n=crS(35634-y),

        --y?
        // insert fragment shader
        :
        // insert vertex shader
        );

    veAP(enVAA(biB(34962,crB())), 2, 5126, liP(x), usP(x),
        buD(34962,new Float32Array([1,1,1,-3,-3,1]),35044)
        );

    setInterval(
        'g.drA(4,g.uniform1f(g.geUL(x,"T"),v+=.01),3)',
        33)
};
The first two lines map all the function names from the webgl context to shorter function names. You can visualize the mapping by opening the developer console, creating a canvas an running the following:
document.body.appendChild(document.createElement('canvas'));
var g = document.getElementsByTagName('canvas')[0].getContext('webgl')

for(x in g)
  g[x.match(/^..|[A-V]/g).join('')]=g[x];
Exploring the webgl context (variable g) will give something like this, and will help to understand what enVAA, biB or atS actually mean:
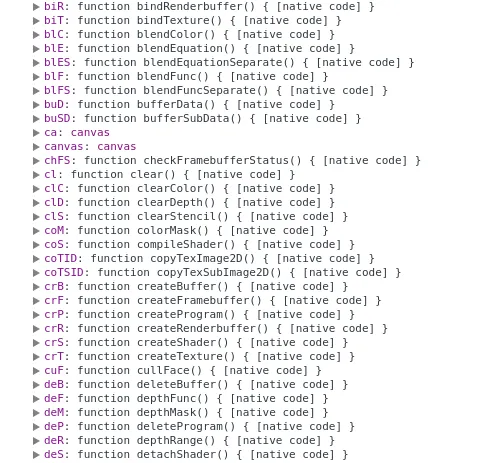
It’s pretty short, but it is roughly the equivalent of this:
vs = ''; // insert vertex shader
fs = ''; // insert fragment shader

p = g.createProgram();
shader = g.createShader(g.VERTEX_SHADER);
g.shaderSource(shader, vs);
g.compileShader(shader);
g.attachShader(p,shader);
shader = g.createShader(g.FRAGMENT_SHADER);
g.shaderSource(shader, fs);
g.compileShader(shader);
g.attachShader(p,shader);
g.linkProgram(p);
g.useProgram(p);

pLocation = g.getAttribLocation(p,"p");
g.bindBuffer(g.ARRAY_BUFFER,g.createBuffer());
g.bufferData(g.ARRAY_BUFFER,new Float32Array(
  [-1,-1,
    1,-1,
   -1, 1,
   -1, 1,
    1,-1,
    1, 1]),g.STATIC_DRAW);
g.enableVertexAttribArray(pLocation);
g.vertexAttribPointer(pLocation,2,g.FLOAT,false,0,0);

tLocation = g.getUniformLocation(p,'iGlobalTime');

initTime = Date.now();

(function draw(){
  g.uniform1f(tLocation,(Date.now()-initTime)*0.001);
  g.drawArrays(g.TRIANGLES,0,6);
  requestAnimationFrame(draw);
})();
Original shader source code
The fragment shader used before the minification, with comments, is quite verbose:
uniform float T;

// union
vec2 opU( vec2 d1, vec2 d2 ) {
    return (d1.x<d2.x) ? d1 : d2;
}

// rotate pos around y
vec3 rotate (vec3 pos, float angle) {
    mat3 m = mat3(
        cos(angle), 0.0, -sin(angle),
        0.0, 1.0, 0.0,
        sin(angle), 0.0, cos(angle)
    );
    return m * pos;
}

// the train that is moving along the tracks
vec2 train (vec3 pos, float yPos) {
    vec3 t = pos;

    // y offset
    t.y += yPos;
    // moving train
    t.z += -40.0 + mod(iGlobalTime * yPos * 8.0, 90.0);

    // a function for a capped cylinder is used to represent the train
    return abs(vec2(length(t.xy), t.z)) - vec2(0.7, 5);
}

float track (vec3 pos) {
    // a track is an infinite cylinder
    return length(pos.yx)-0.5;
}

// distance function for the raymarching
vec2 map(vec3 pos) {
    vec2 res = vec2(1.0);
    // this iteration will spawn 5 tracks, rotated around the y axis and with a different y position
    for (float i = 1.0; i < 11.1; i+=2.2) {
        // this rotation gives the illusion that the camera is rotating, whereas it is actually the tracks that are rotating.
        vec3 rotated = rotate(pos, i+iGlobalTime);
        vec3 trackPos = rotated;
        trackPos.y += i;
        float trackDist = track(trackPos);

        vec2 d = train(rotated, i);
        // take the union of all the objects in the scene to find out if something has been hit or not
        res = opU(
                res, // previous
                opU(
                    opU(
                        vec2(min(max(d.x,d.y),0.0) + length(max(d,0.0)), 38),
                        vec2(trackDist, 3)),
                    // the torus along the tube
                    vec2(length(vec2(length(trackPos.xy)-0.9, mod(trackPos.z, 4.0)-2.0))-0.2, 5))
              );
    }
    return res;
}


void main()
{
    float t = 1.0;

    // center everything
    vec2 p = 2.0 * gl_FragCoord.xy/iResolution.xy - 1.0;
    p.x *= iResolution.x/iResolution.y;

    vec3 origin = vec3(0.0, -6, -10);
    vec3 dest = normalize(vec3(p, 2));

    // raymarch
    float res;
    for (int i=0; i<90; i++) {
        res = map(origin+dest*t).x;
        if(res < 0.01 || t > 60.0 ) break;
        t += res;
    }


    vec3 color;
    if (t >= 60.0) {
        // nothing was hit, render black
        color = vec3(0.0);
    } else {
        // something was hit
        // 1. Calculate the normal for the shading
        // 2. Do the toon shading
        // 3. Calculate the color at the point of contact

        vec3 eps = vec3(0.01, 0, 0);
        vec3 hit = origin+dest*t;

        // calculate the normal
        vec3 normal = normalize(vec3(
            map(hit+eps.xyy).x - map(hit-eps.xyy).x,
            map(hit+eps.yxy).x - map(hit-eps.yxy).x,
            map(hit+eps.yyx).x - map(hit-eps.yyx).x ));

        // toon shading
        vec3 light = normalize(vec3(0, 1, 0));
        float df = max(0.0, dot(normal, light));
        if (df < 0.1) df = 0.0;
        else if (df < 0.3) df = 0.3;
        else if (df < 0.7) df = 0.7;
        else df = 1.0;
        float sf = max(0.0, dot(normal, light));

        color = 0.5 * sin(iGlobalTime + vec3(0.1,0.1,0.5)*map(hit).y) * (1.0 + df + step(0.35, sf*sf));
    }

    gl_FragColor = vec4(color, 1.0);

}
Minified shader source code
It’s pretty hard to minify a shader manually. Most of the tricks that apply to Javascript as you can find in a classic JS1K compo don’t apply for GLSL. This is because GLSL is in fact a bit like the C language, variables need to be correctly defined with types and it has a strict syntax.
The main strategy I chose to follow in order to reduce the size was to:
- Inline most of the functions.
- Duplicate code. This is sad because it had a big impact on the overall performance, but in the end it really helped to compress better.
- Use manual tricks, for example approximate a three-digits number to a two-digits one when possible (100 -> 99).
After a manual minification and a pass through shader-minifier, I ended up with the following shader code. It’s a lot of duplicated code, but it compresses better with jscrush, even though it might sound counter intuitive.
uniform float T;
vec2 v(vec2 x,vec2 y)
{
 return x.x<y.x?x:y;
}
vec2 v(vec3 y)
{
 vec2 x=vec2(1.);
 for(float n=1.;n<11.1;n+=2.2)
   {
     vec2 c=abs(vec2(length(vec3(cos(n+T)*y.x+sin(n+T)*y.z,y.y+n,cos(n+T)*y.z-sin(n+T)*y.x).xy),cos(n+T)*y.z-sin(n+T)*y.x-40.+mod(T*n*8.,90.)))-vec2(.7,5);
     x=v(x,v(v(vec2(min(max(c.x,c.y),0.)+length(max(c,0.)),38),vec2(length(vec3(cos(n+T)*y.x+sin(n+T)*y.z,y.y+n,cos(n+T)*y.z-sin(n+T)*y.x).yx)-.5,3)),vec2(length(vec2(length(vec3(cos(n+T)*y.x+sin(n+T)*y.z,y.y+n,cos(n+T)*y.z-sin(n+T)*y.x).xy)-.9,mod(cos(n+T)*y.z-sin(n+T)*y.x,4.)-2.))-.2,5)));
   }
 return x;
}
void main()
{
 float n=1.;
 vec2 y=2.*gl_FragCoord.xy/R.xy-n;
 y.x*=R.x/R.y;
 for(int x=0;x<90;x++)
   {
     if(v(vec3(0.,-6,-10)+normalize(vec3(y,2))*n).x<.01||n>60.)
       break;
     n+=v(vec3(0.,-6,-10)+normalize(vec3(y,2))*n).x;
   }
 vec3 x=normalize(vec3(v(vec3(0.,-6,-10)+normalize(vec3(y,2))*n+vec3(.01,0,0).xyy).x-v(vec3(0.,-6,-10)+normalize(vec3(y,2))*n-vec3(.01,0,0).xyy).x,v(vec3(0.,-6,-10)+normalize(vec3(y,2))*n+vec3(.01,0,0).yxy).x-v(vec3(0.,-6,-10)+normalize(vec3(y,2))*n-vec3(.01,0,0).yxy).x,v(vec3(0.,-6,-10)+normalize(vec3(y,2))*n+vec3(.01,0,0).yyx).x-v(vec3(0.,-6,-10)+normalize(vec3(y,2))*n-vec3(.01,0,0).yyx).x));
 gl_FragColor=vec4(n<60.?.5*sin(T+vec3(.1,.1,.5)*v(vec3(0.,-6,-10)+normalize(vec3(y,2))*n).y)*(1.+(max(0.,dot(x,normalize(vec3(0,1,0))))<.1?.1:max(0.,dot(x,normalize(vec3(0,1,0))))<.3?.3:max(0.,dot(x,normalize(vec3(0,1,0))))<.7?.7:1.)+step(.5,max(0.,dot(x,normalize(vec3(0,1,0))))*max(0.,dot(x,normalize(vec3(0,1,0)))))):vec3(0.),1.);
Compression
The original source code is maybe a bit big due to all the duplicated code, but it compresses well. Part of the flow was the recap of all the JS files sizes after compiling / compressing, which ended up being essential to checl if a change was worth begin kept.
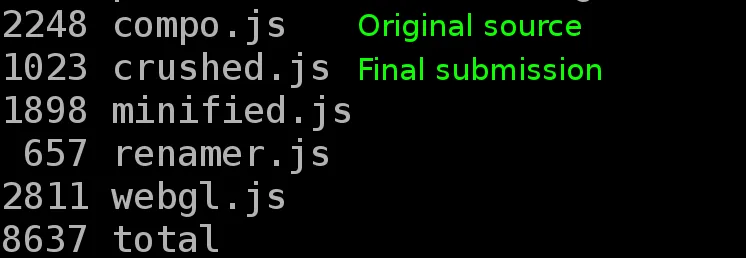
To illustrate how effective the compression is and the strategy I decided to use, we can take an example of a shader code that “nicely” written, and one with code duplication.
Let’s use the gist mentioned above to minify / compress everything quickly.
For the example, let’s take a short shader made by iq for his formulanimation tutorial:
void mainImage( out vec4 fragColor, in vec2 fragCoord )
{
  vec2 p = fragCoord.xy / iResolution.xy;
  vec2 q = p - vec2(0.33,0.7);

  vec3 col = mix( vec3(1.0,0.3,0.0), vec3(1.0,0.8,0.3), sqrt(p.y) );

  float r = 0.2 + 0.1*cos( atan(q.y,q.x)*10.0 + 20.0*q.x + 1.0);
  col *= smoothstep( r, r+0.01, length( q ) );

  r = 0.015;
  r += 0.002*sin(120.0*q.y);
  r += exp(-40.0*p.y);
    col *= 1.0 - (1.0-smoothstep(r,r+0.002, abs(q.x-0.25*sin(2.0*q.y))))*(1.0-smoothstep(0.0,0.1,q.y));

  fragColor = vec4(col,1.0);
}
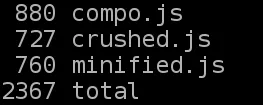
Running the tool on this shader (place the above code in the file shader.fs): npm run all
What if instead we group the terms of the variable r and col together (inline), so the code is transformed to this?
void mainImage( out vec4 fragColor, in vec2 fragCoord )
{
  vec2 p = fragCoord.xy / iResolution.xy;
  vec2 q = p - vec2(0.33,0.7);

  vec3 col = mix( vec3(1.0,0.3,0.0), vec3(1.0,0.8,0.3), sqrt(p.y) ) * smoothstep( 0.2 + 0.1*cos( atan(q.y,q.x)*10.0 + 20.0*q.x + 1.0), 0.2 + 0.1*cos( atan(q.y,q.x)*10.0 + 20.0*q.x + 1.0)+0.01, length( q ) ) * (1.0 - (1.0-smoothstep(0.015 + 0.002*sin(120.0*q.y) + exp(-40.0*p.y),0.015 + 0.002*sin(120.0*q.y) + exp(-40.0*p.y)+0.002, abs(q.x-0.25*sin(2.0*q.y))))*(1.0-smoothstep(0.0,0.1,q.y)));

  fragColor = vec4(col,1.0);
}
Again, npm run all:
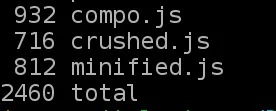
The crushed code size has decreased by 11 bytes, and the result is still the same. This case illustrates an example on how JSCrush takes advantage of duplicated code (pattern).
Wrapping up
I entered the competition quite relaxed, considering it as a personal challenge rather than a real competition. In fact I could say it was my February 30 Day Challenge, so it somehow forced myself not to give up before the end!
It was very fun and I learned a lot of new stuff, especially about 3D graphics, the raymarching algorithm and some shader programming.
One possible regret is that the overall performance is a bit low. The code duplication is one of the factors, but there are probably some other reasons. Anyway, it is still possible to run the demo in a smaller window (less pixels) to reach a better framerate.
Hopefully this recap gives enough insight into the making of the demo, or at least makes you want to do your own compo next time! If there is anything that I got wrong, or if you want more details about a specific part, please let me know.
References
There are so many good resources on the subject that came to be super useful. Too many so here are just a few:
- The demos mentioned in Paulo Falcao’s JS1K compo: https://js1k.com/2014-dragons/details/1868. These:
- HBC-00012: Kornell Box - http://www.pouet.net/prod.php?which=61667
- HBC-00013: Highway 4k - http://www.pouet.net/prod.php?which=61668
- iq reference on distance functions: http://iquilezles.org/www/articles/distfunctions/distfunctions.htm
- iq intro to raymarching: http://www.iquilezles.org/www/articles/terrainmarching/terrainmarching.htm
- p01 resources on p01.org, especially for the trick for shortening webgl functions, and also for inspiration in general
- All the JS1K demos for the ideas and tricks from past demos.